Free Shipping on $50 Orders

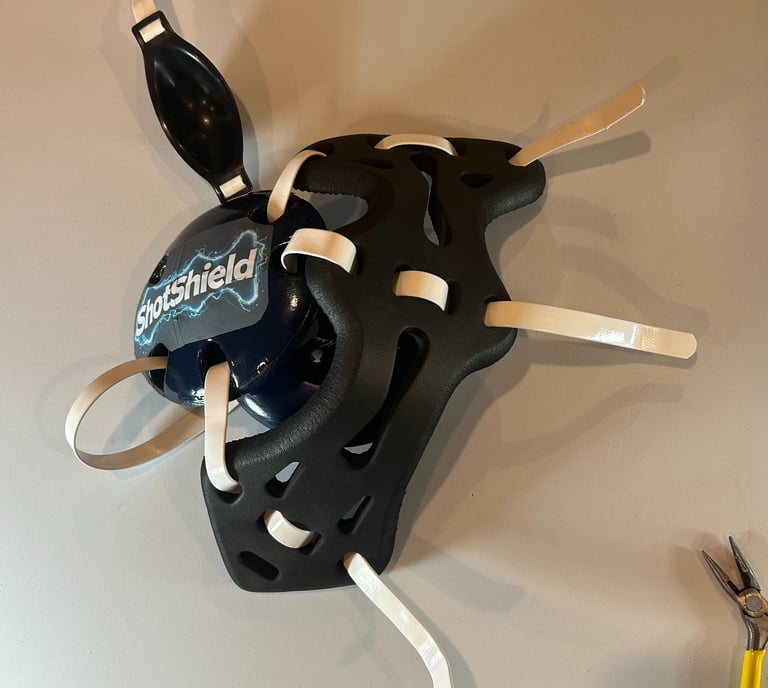
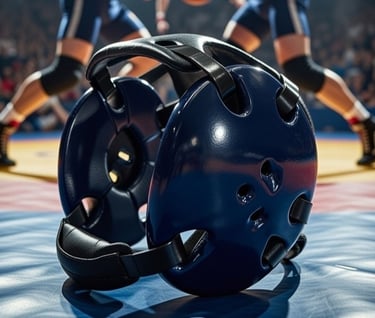
ShotShield Impact Cushion is a supplemental foam padding accessory designed to add targeted impact protection to wrestling headgear (compatible with models like Cliff Keen Signature/E58, Adidas Response, and Matman Original). This guide focuses on a partial disassembly of one side only for installation, followed by weaving the ShotShield onto the straps. No full disassembly is required, and chin strap handling is limited to final adjustment if needed. Ensure the straps are in good condition before starting.
Tools: Needlenose pliers (optional for stiff tabs, but makes install much easier, take care to avoid damaging the headgear).
Installation Guide
Preparation
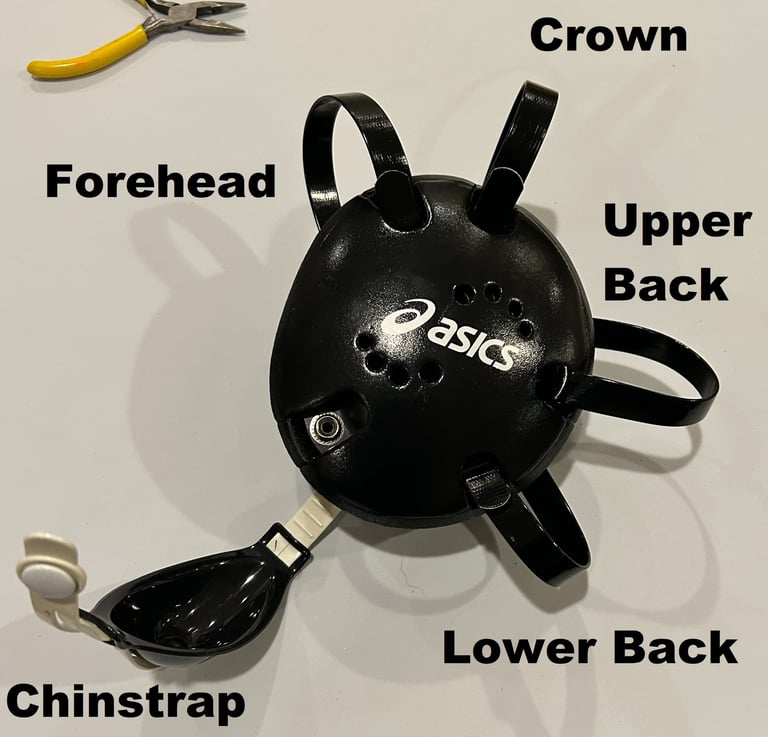
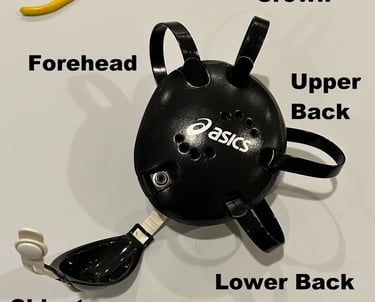
Forehead Strap(Top Front): Across the forehead/top front.
Crown Strap (Top Rear): Upper rear/crown area.
Upper Back Strap: Top strap in back
Lower Back Strap (Bottom Back): Base of skull/lower rear.
Chin Strap: Under chin—leave assembled; only minor adjustment at end if needed.
Orient the ShotShield: Widest part (forehead cover) faces forward (toward face/forehead when worn).
Work on one side only first (e.g., left ear guard) to keep things simple. Loosen the opposite side slightly if you need extra slack
Part 1: Partial Disassembly (One Side)
Untuck/remove the three upper straps from one side:
Hook a finger, key, or pliers under each strap in the ear guard slot (from outside).
Wiggle to create space and slide the strap end out.
Remove: Forehead (Top Front), Top Back (Crown), and Lower Back (Bottom Back) from that side only.
Keep straps attached on the opposite side—no full teardown.
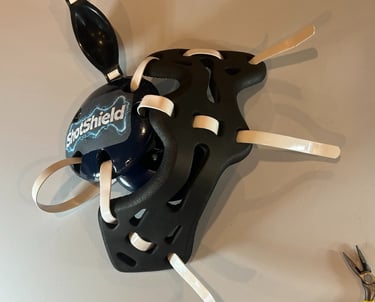
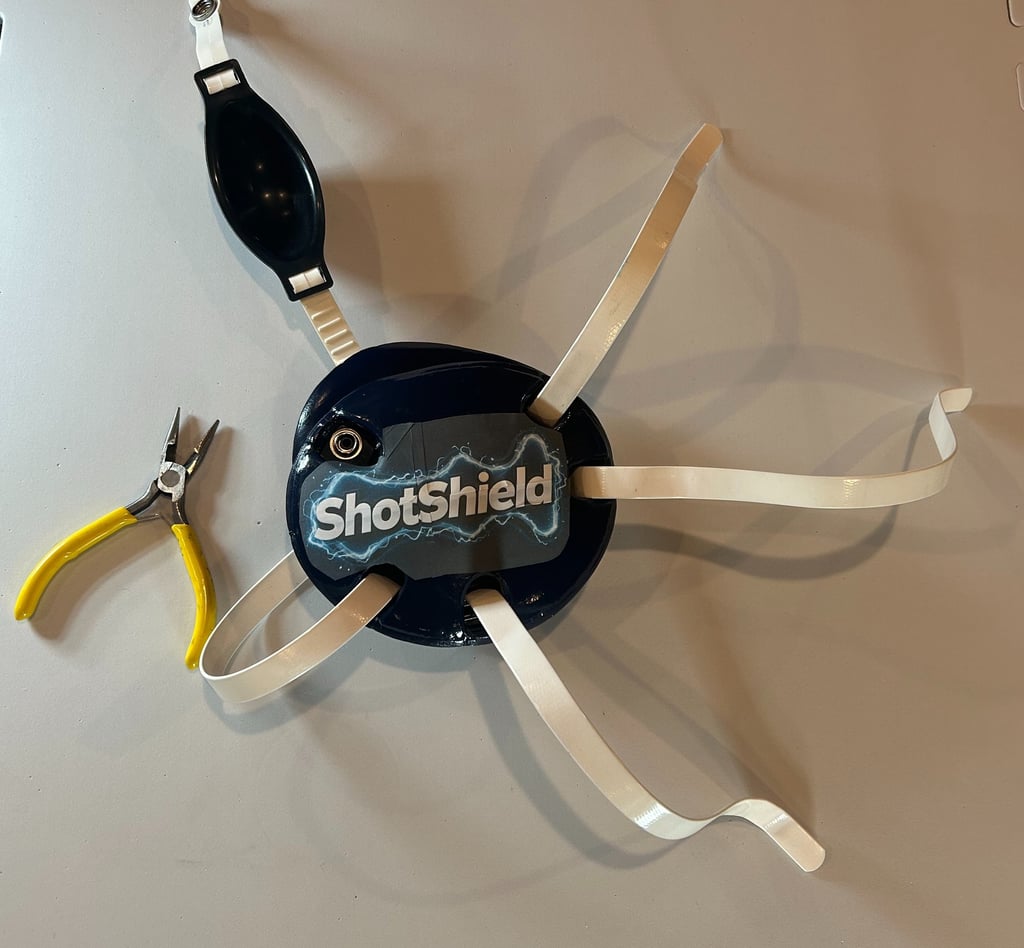
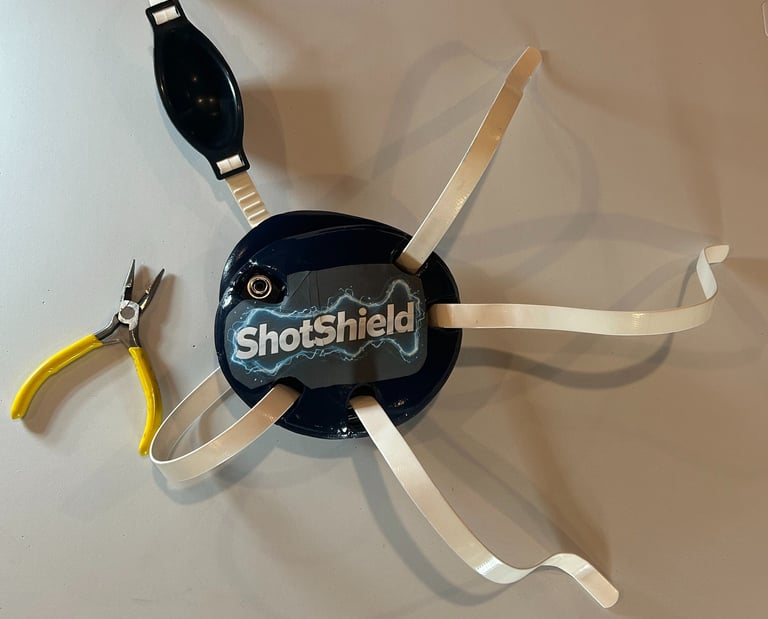
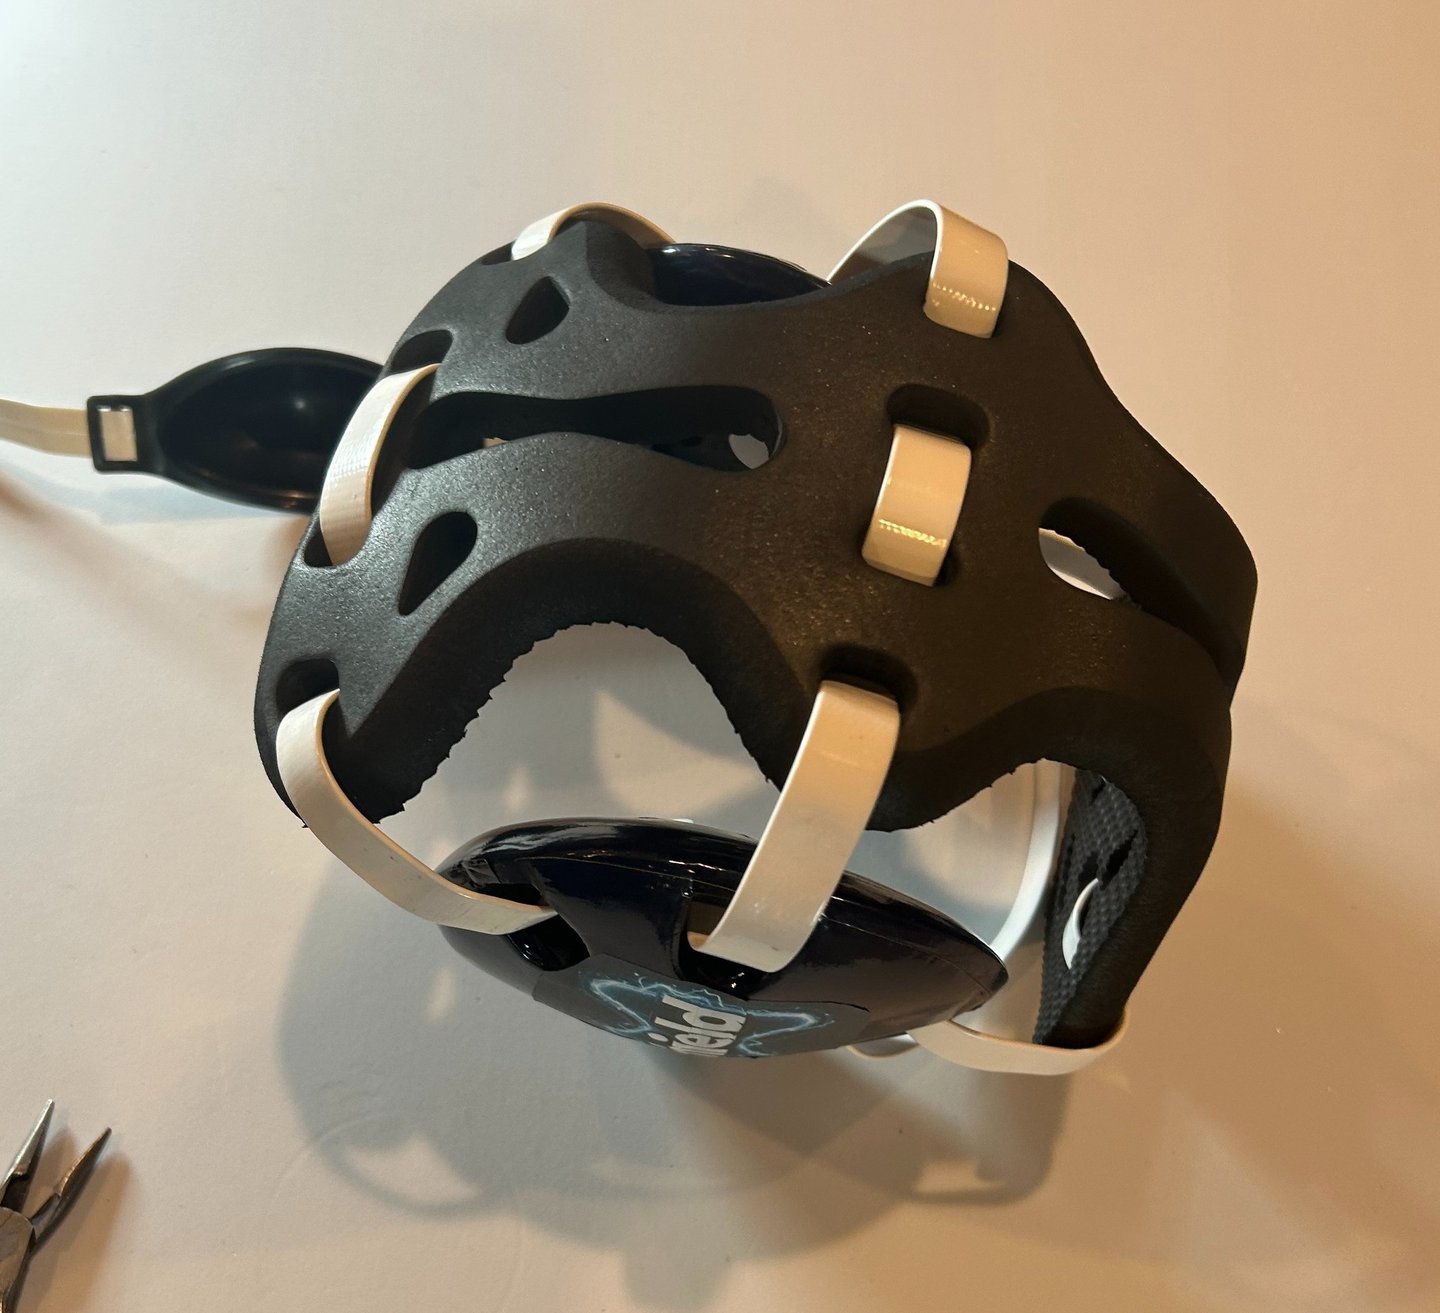
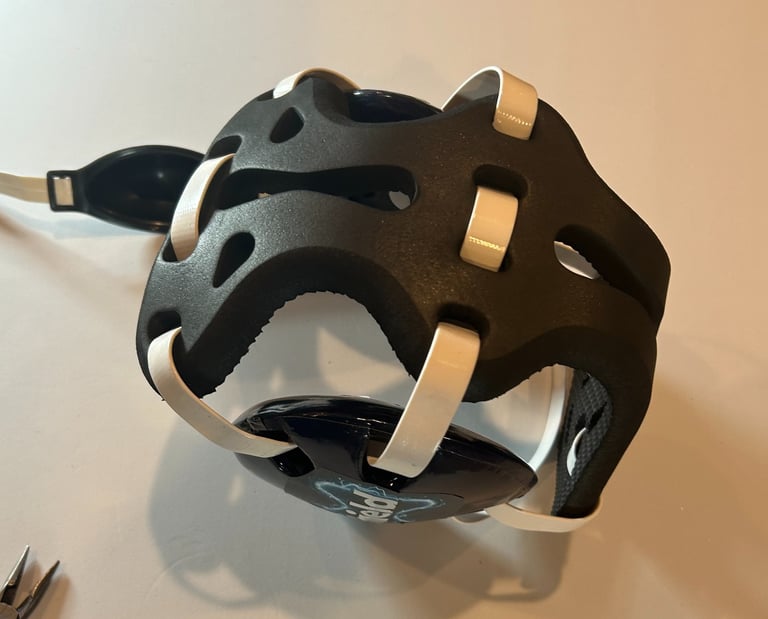
Part 2: Install ShotShield onto Straps
Lay the three loosened strap ends flat.
Forehead/Top Front Strap first: Insert from the top into the 1st hole of the ShotShield, then weave in and out through the remaining 3 holes (alternating over-under for secure grip). Keep it flat, no twists.
Top Back Strap: Insert from top into 1st hole, weave in/out of 4 holes.
Bottom Back Strap: Insert from top into 1st hole, weave in/out of remaining holes. Pull gently to center the ShotShield on the straps.
Part 3: Reassemble the Headgear
Thread the free ends back through the original ear guard slots on the disassembled side (same path).
Install loosely at first—try on the headgear.
If too tight, loosen the other side temporarily for slack.
Push-pull-wiggle straps through until snug (pliers for stiff tabs). Adjust on/off a few times or get a helper to hold it while tightening.
Put it on: Tighten Forehead/Top Back first (pull ear guards down/forward to remove slack), then Upper Back (if separate), then Bottom Back for base fit.
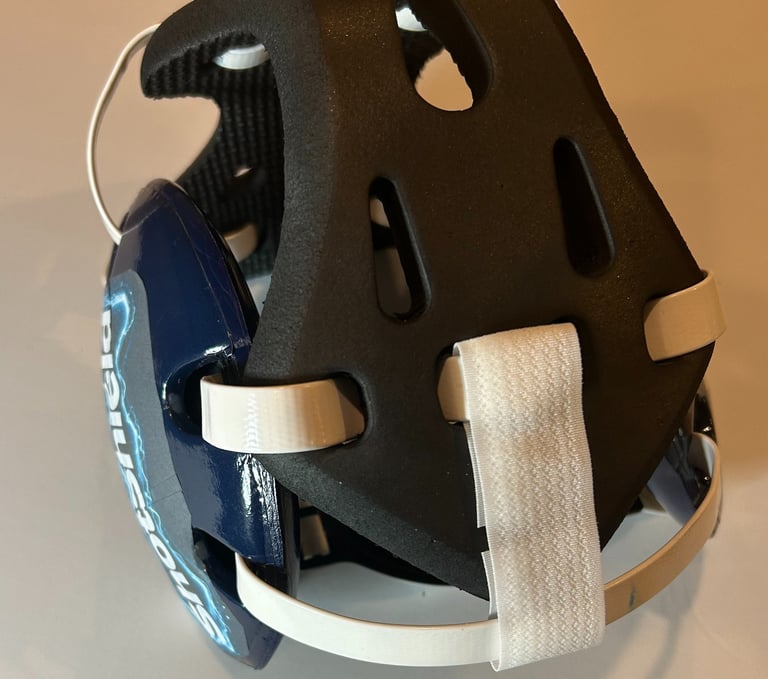
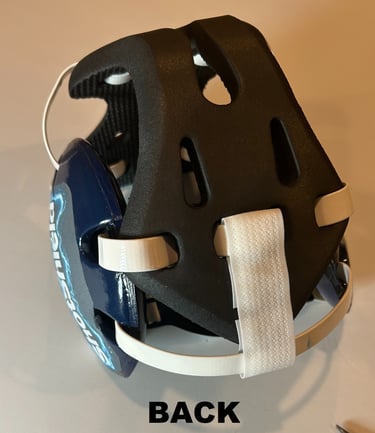
Add Velcro lockdown: Place strip under the Back Top Strap (over/against the ShotShield) and connect to the Back Bottom Strap below. Velcro tabs face inside for clean hold.
Test: Shake head hard—shouldn't slide (forehead strap helps lock it forward). Readjust for even tension.
If needed, slight chin strap/cup adjustment (pull down to attach/tighten—no disassembly)
Shake your head to test stability; readjust straps as needed for even tension. Try and pull the headgear back, it shouldn't slide back as the forehead strap should lock it forward form sliding.
If necessary, adjust the chin strap/cup
Proper installation will require a slight pull down to attach the chinstrap or chin cup.
Part 4: Final Fit and Velcro Securing

Our mission
We're on a mission to change the way the housing market works. Rather than offering one service or another, we want to combine as many and make our clients' lives easy and carefree. Our goal is to match our clients with the perfect properties that fit their tastes, needs, and budgets.
Our vision
We want to live in a world where people can buy homes that match their needs rather than having to find a compromise and settle on the second-best option. That's why we take a lot of time and care in getting to know our clients from the moment they reach out to us and ask for our help.
Brand
Check Us Out on Socials #ShotShield
Contact
shotshieldgear@gmail.com
© 2026. All rights reserved.
The ShotShield Impact Cushion product line is a supplemental foam padding accessory for approved wrestling headgear. It provides targeted cushioning only, covering limited areas of the head. Impacts commonly occur outside these areas, and no padding can protect unpadded regions. ShotShield is not designed, intended, or proven to prevent, mitigate, or reduce the risk of concussions, traumatic brain injuries, or any head, brain, neck, or other injuries. No headgear or accessory can eliminate the risk of concussion or serious injury in wrestling.
Concussions may occur from brain motion within the skull, even with additional padding. ShotShield products are designed as a supplemental accessory for use with NFHS- and NCAA-approved headgear. Referees have final discretion on all equipment. Wrestling carries inherent injury risks. Always use proper technique, strengthen the neck, follow NFHS/NCAA rules, and seek immediate medical care for any suspected head impact. By using this site and/or purchasing ShotShield products, you accept these terms. Consult coaches, referees, and medical professionals for equipment and safety guidance.
ShotShield Safety Disclaimer:
(567) 2SHIELD
(567) 274-4353